 They then brought this and a few metres of a pink silk seen below which will be used make the tails and also to blend in the rusty pink of the wall paper.
 Once they had found the Drawing room fabric they then searched for the Study and discovered a rather expensive £44 pm of Fibre Naturella red velvet with embroided details this fabric is rich and expensive and suits the Study setting perfectly as seen in the imasge below it has beige, gold and green floral detail which is another texture and pattern to add to the room.
 Constructing My Curtains and Tails:
I began by measuring and cutting out the Drawing room fabric I started by cutting two cuts of 8ft 9" the 9" excess makes up the hems and turnover.
After I had cut the Drawing room curtains out I noticed there wasn't enough of this fabric to make the tails out of it so I then decided to use the dusty pink silk and cut out my tails using a paper template which I made at 4ft long the image of this template can be seen below. I then cut out the tails. Cutting out one tail in fabric and in lining, adding 5/8 inch (1.5cm) seam allowance all round the pattern i then flipped the test tail over and cut out the second pieces of fabric and lining, as the mirror image of the first.  When making up the tails I had to machine the right sides together and edges matching, stitching the lining fabric to the main fabric down both sides and along the slanted lower edge, leaving the top edge open allowing me to pull the fabric through.
When making up the tails I had to machine the right sides together and edges matching, stitching the lining fabric to the main fabric down both sides and along the slanted lower edge, leaving the top edge open allowing me to pull the fabric through. 

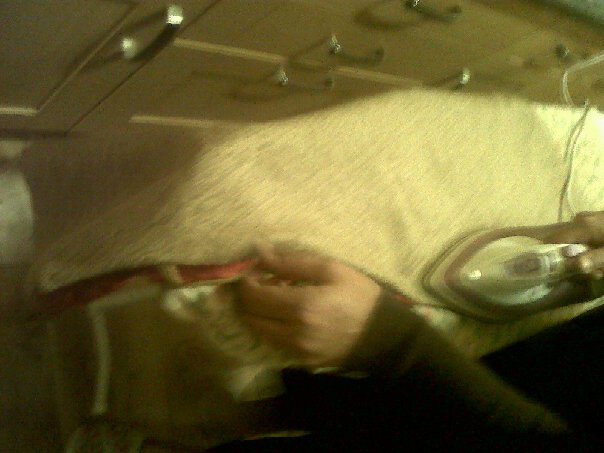
I then trimmed the seam allowances and clipped across corners before turning the right side out and pressing them. I then attached fringe to the edge of the tail and began to pleat the tails into shape to do this I folded each tail into evenly spaced pleats and pinned and then tacked them together across the top. I finally machined across the top to hold the pleats in place and pressed the folds to remove creases. I then repeated this process to make a matching pair of tails and then made a tail for the Study.


I then made up my curtain for the Study at the same drop of 8ft adding heading tape to create gather these would be pulled back to frame the window. Making these curtains was very simple expecially as they were not lined and im now confident in the process of curtain making and tails.
The tassels above are the tie back for the curtains I tried to match the friniging as well as I could from this photo.


( a mixture of my own photos and that of our unnominated photographer Sarah Laker)
No comments:
Post a Comment